How to make papier-mâché: paste, layers, drying and sealing
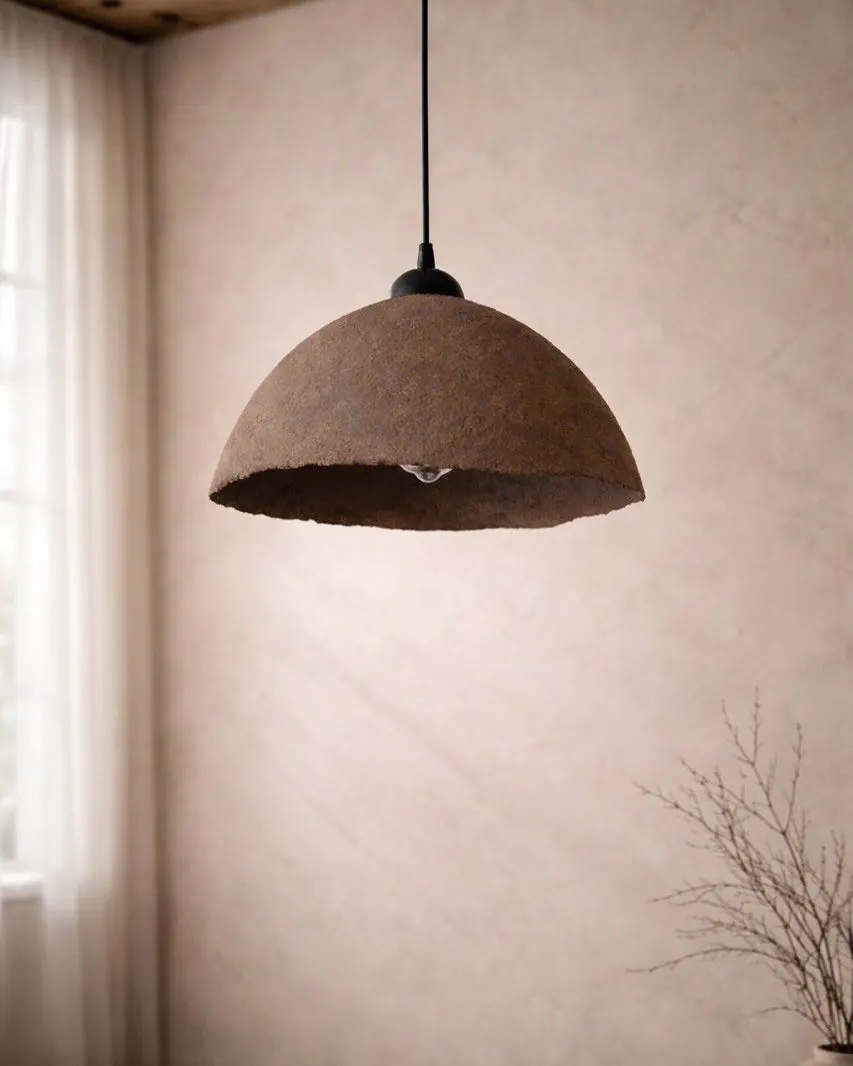
Papier-mâché is one of the oldest ways to make a strong, light object out of almost nothing: torn paper and paste. It is also one of the most forgiving. Our studio in Yerevan has shaped lamps, bowls and vases from it for years, and the method below is the one we would hand to a friend who wanted to try. It covers the paste, the layers, the long slow drying, and the finishing that turns a rough shell into something you would put on a shelf.
What you need
- Paper. Newspaper is the classic: thin, absorbent and free. Brown kraft paper gives a tougher, smoother shell. Tear it, never cut it: torn edges feather into each other and disappear, cut edges leave ridges.
- Paste. See the three recipes below.
- A form. A balloon, an upturned bowl, a plastic pot, a plaster or foam mould, or a shape built from cardboard and tape.
- A release layer. Cling film, a thin coat of petroleum jelly or vegetable oil, so the dry shell comes off the form.
- Finishing. Fine sandpaper (180–240 grit), acrylic primer or gesso, acrylic paint, and a water-based matte varnish.
Three pastes
Flour and water. One part plain flour to about two parts water, whisked smooth. Cooking it for a few minutes on a low heat until it thickens makes a stronger, smoother paste. Add a spoon of salt to slow mould. It is cheap and safe for children, but it attracts mould if the piece dries slowly, so keep layers thin and the room airy.
PVA glue. White craft glue thinned with water, roughly one part glue to one part water. It dries harder and clearer than flour paste, resists damp better and does not mould. It is the best choice for anything that needs strength, such as a lampshade or a large bowl.
Wallpaper paste. Cellulose paste mixed to a thin consistency. It dries very smooth, keeps for weeks in a sealed tub and does not grow mould. It is slightly weaker than PVA, so add an extra layer or two. Check that it has no fungicide if children will be working with it.
Strips or pulp
There are two ways to work. Strips are torn pieces of paper, dipped or brushed with paste and laid overlapping on a form. Strips make thin, strong, light shells, which is how our pendant shades and the cap of a mushroom lamp are built. Pulp is paper soaked overnight, blended to a mush, squeezed out and mixed with paste into something like clay. Pulp can be pressed into a mould or modelled by hand, holds texture and thick edges well, and is how deliberately uneven rims and heavy, chalky surfaces are made. Most pieces use both: a strip shell for strength, then pulp for texture and detail.
Building the layers
Prepare the form and cover it with your release layer. Lay the first strips with paste on one side only, so they stick to the form but can be lifted later. From the second layer on, paste both sides, overlap each strip by half and change direction with every layer: horizontal, then vertical, then diagonal. Alternating directions is what gives papier-mâché its surprising strength. Smooth each strip down with your fingers to push out air; trapped air becomes a bubble you will have to cut out later.
How many layers? A small decorative bowl needs 5–6. A bowl that will be handled needs 8. A lampshade or a vase that has to hold its shape over a bulb needs 10–12, and a large pendant more. Thin paper means more layers; kraft paper means fewer. Our own guide to how a papier-mâché pendant lamp is made shows what the build looks like in a studio.
Drying, the part everyone rushes
Let the piece dry completely every two or three layers. Papier-mâché that is sealed over while damp will stay soft inside, grow mould or crack later. Dry it in a warm, airy room, turning it so one side does not dry faster than the other, which is what causes warping. Do not put it on a radiator or in an oven; fast heat warps the paper and loosens it from the form. A bowl takes a day or two per set of layers; a lampshade built up over a week is normal, and that slow timeline is part of why a handmade piece costs what it does.
Releasing, trimming and smoothing
When the shell is dry and sounds hard when tapped, pop the balloon or ease the piece off the form. Trim the rim with sharp scissors or a craft knife, then bind the raw edge with a final layer of small strips so it does not fray. Sand lightly with 180–240 grit to knock back ridges; for a very smooth surface, brush on a thin coat of paste mixed with a little pulp or filler and sand again. If you want the surface to show the hand that made it, stop sanding early. Many of our pieces keep that lightly uneven, chalky skin on purpose.
Sealing and colour
Prime with acrylic primer or gesso, two thin coats, sanding between them. Paint with acrylics; earthy tones such as terracotta, clay and warm neutrals suit the material and hide small irregularities. Finish with a water-based matte varnish, inside and out, which protects against dust and fingermarks. No varnish makes papier-mâché waterproof, so keep finished pieces away from standing water, steam and bathrooms, as our care guide explains.
If you are making a lamp
Leave a generous opening at the top for the fitting and for heat to escape, and build at least 10 layers so the shade holds its shape. Use only LED bulbs: they stay cool, which is what makes a paper shade safe. Our bulb and safety guide covers wattage, fittings and the distance a bulb should keep from the paper.
Common problems
- Mould. Layers too thick or drying too slowly. Use thinner layers, more air, or switch from flour paste to PVA.
- Warping. Uneven drying. Turn the piece often and keep it away from direct heat.
- Soft spots. Too few layers or paste that was too thin. Add layers; let each dry.
- Bubbles and ridges. Air under a strip or cut edges. Smooth every strip, tear rather than cut.
- Stuck to the form. No release layer. Cling film or a smear of oil next time.
Or let us make it
If you would rather have the finished piece than the week of drying, everything below is shaped by hand in papier-mâché in our studio in Yerevan, made to order and in most cases available in your own colour or size.
- Glowing Mushroom Lamp — 28 × 30 cm — 10,000 AMD
- Papier-mâché Pendant Shade — 15 × 33 cm — 12,000 AMD
- Papier-mâché Bowls — 12 × 8 cm — 3,000–7,000 AMD
- Round Papier-mâché Vase — Made to order — price on request
The papier-mâché collection shows the full range, and our custom lampshade guide explains how a made-to-order piece works.
Frequently asked questions
What is the best paste for papier-mâché?
Flour-and-water paste is cheap and child-safe but can mould. PVA glue thinned one-to-one with water dries hardest and resists damp, so it is best for lampshades and large bowls. Wallpaper paste dries very smooth and never moulds but is a little weaker.
How many layers of papier-mâché do I need?
About 5–6 layers for a small decorative bowl, 8 for a bowl that will be handled, and 10–12 or more for a lampshade or vase that must hold its shape. Thin newspaper needs more layers than kraft paper.
How long does papier-mâché take to dry?
A day or two per set of two or three layers in a warm, airy room. A lampshade built up over a week is normal. Dry it fully between sets and keep it away from direct heat, which warps it.
How do I stop papier-mâché going mouldy?
Keep layers thin, let each set dry completely, keep the air moving, and use PVA or wallpaper paste instead of flour paste for pieces that dry slowly. A spoon of salt in flour paste helps a little.
Can papier-mâché be made waterproof?
Not fully. Primer and a water-based matte varnish protect it from dust, fingermarks and the odd splash, but finished pieces should stay away from standing water, steam and bathrooms.
Is a papier-mâché lampshade safe?
Yes, with an LED bulb, which stays cool, and a generous opening at the top for heat to escape. Never use halogen or incandescent bulbs in a paper shade.
Rather have it made?
Tell us the shape, size and colour you have in mind and we will shape it by hand in Yerevan and ship it to you.
Message us on Instagram