How a cement table lamp is made: moulds, mix, curing and sealing
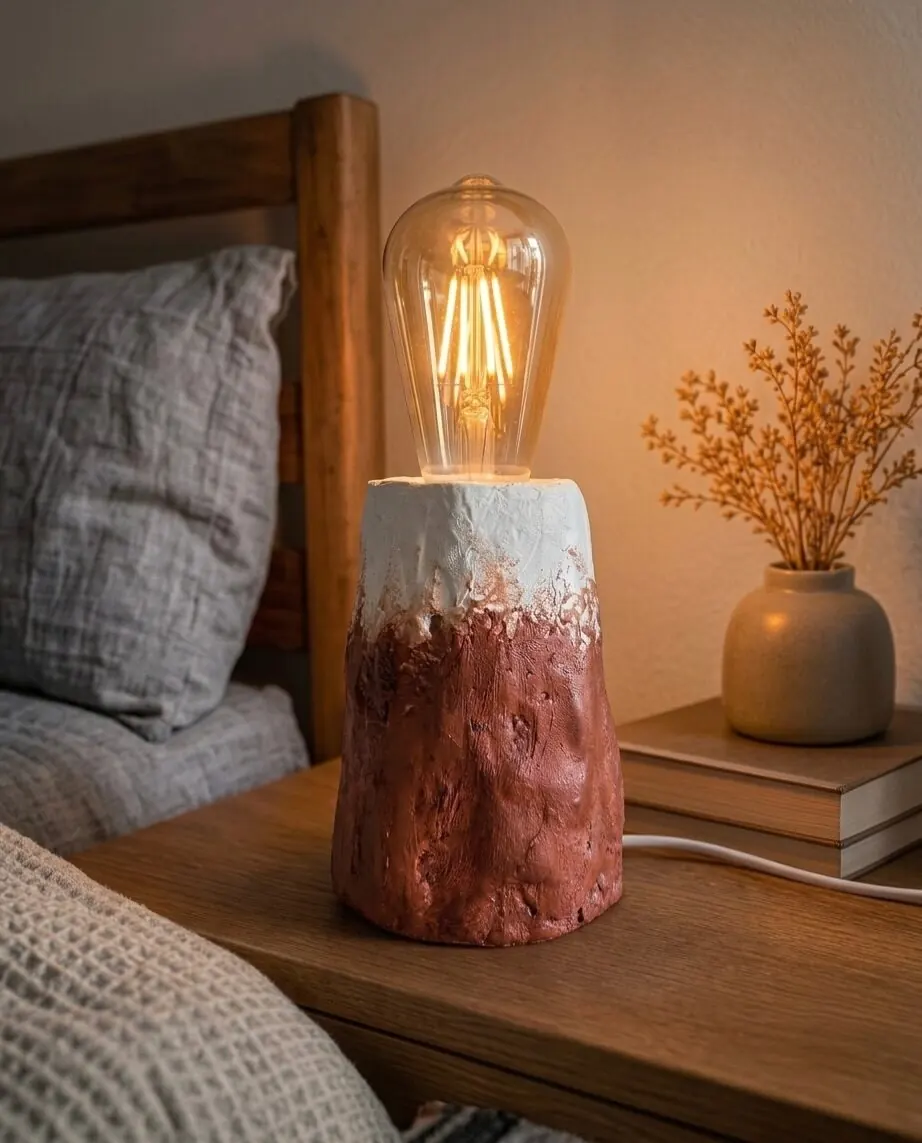
A cement lamp looks like it was quarried, not made. In fact it starts as a bucket of grey powder, a mould and a lot of patience. Our studio in Yerevan casts table lamps, lanterns, bowls and coasters in cement, and this is the process behind them, from the first drawing of the mould to the sealed, finished piece on your desk. If you want to try it yourself, the same steps apply at kitchen-table scale.
Why cement for a lamp
Cement is heavy, cool and completely opaque. That makes it the opposite of papier-mâché, and the ideal base for a lamp: a small cylinder of cast cement will not tip when you brush past it, and it blocks light entirely, so the bulb and the shade do all the glowing. It cures to a mineral surface with fine pores, the occasional tiny air bubble and, if you add aggregate, flecks of terrazzo. Our comparison of papier-mâché and cement goes deeper into the two materials.
1. Designing the mould
Every cast piece begins as a negative. The mould decides the shape, the wall thickness and the surface: a smooth plastic mould gives a smooth lamp, a textured one leaves texture. Small lamps are often cast in two-part moulds so the piece can be released, with a slight taper, called draft, on every vertical face so the cement slides out instead of locking in. The hole for the cable and the socket is formed at the same time by a rod or tube set into the mould, rather than drilled later. For one-off shapes a mould can be as simple as two plastic containers nested inside each other; for repeatable pieces it is made from silicone or a rigid shell.
2. The mix
Lamp bodies are cast from a fine mortar rather than coarse concrete: cement, fine sand and just enough water to make a stiff, workable paste. Too much water makes a weak, dusty cast with a pale, chalky surface; too little leaves voids. Pigments are measured as a small percentage of the cement weight, which is how warm terracotta or blush tones are made, and crushed stone or coloured chips can be added for a terrazzo fleck. Mixing is done slowly to keep air out.
3. Casting without bubbles
The mould is lightly oiled, the mix is poured in stages, and after each pour the mould is tapped or vibrated so trapped air rises to the surface. Those small bubbles are what become pinholes on the finished face. A few are part of the character of cast cement; a sheet of them is a casting fault. The cable rod is checked for position, the top is levelled, and the piece is covered so it does not dry too fast.
4. Demoulding and curing
After about a day the cement has set enough to release from the mould, but it is far from finished. Cement does not dry so much as cure: it gains strength through a chemical reaction with water over days and weeks, reaching most of its strength after about a week and its full strength after roughly four. During the first week the piece is kept damp and out of the sun, because fast drying causes hairline cracks. It also lightens noticeably in colour as it cures, which is why pigmented pieces are judged only when fully dry.
5. Sanding and sealing
Once cured, the edges are softened and the faces are sanded with progressively finer pads to the finish the design calls for, from lightly honed to almost polished. Then the piece is sealed with a matte, water-based sealer, which keeps dust and fingermarks out of the pores without adding shine. Sealing also stops the cement shedding fine powder on the shelf. A felt or cork pad is added underneath so the lamp does not scratch a table.
6. Wiring
Finally the socket, cable and switch are fitted through the cast channel. The small cement lamps in our collection carry an exposed bulb, so an LED filament bulb in warm white (2700–3000 K) does the work of a shade. LEDs also run cool, which matters where a cement body sits close to the bulb and essential where a paper or fabric shade is added. Our bulb guide has the details.
Our cement lamps
Every piece below is hand-cast in Yerevan and made to order; several can be cast in another colour or terrazzo mix.
- Cement Table Lamp — 7.5 × 9.5 cm — 8,000 AMD
- Mini Cement Lamp — 7.5 × 9.5 cm — 8,000 AMD
- Concrete & Plaster Table Lamp — 9 × 15 cm — 9,000 AMD
- Cement Lantern Lamp — Made to order — 9,000 AMD
- Concrete Lamp & Diffuser — Set of 2 — 12,000 AMD
- Sculptural Cement Frame Lamp — 22 × 16.5 cm — price on request
Trying it at home
A first cement lamp is a weekend project. Use a fine, fast-setting mortar or a dedicated casting cement, two nested plastic containers as the mould, a greased wooden dowel for the cable hole, and a lamp cord set with a plug and an inline switch from a hardware store. Tap the mould well, wait a full day before demoulding, keep the piece damp under plastic for a week, then sand, seal and wire it. Expect your first surface to have more bubbles than you want; the second one will be better.
Living with cement
Cement is far tougher than papier-mâché and can live on a bathroom shelf or a covered balcony, but it is porous: wipe spills quickly, especially oil, wine and coffee, and wipe with a dry or barely damp cloth rather than soaking it. Do not drop it on tile; it chips. The care guide covers both of our materials.
Frequently asked questions
How are concrete lamps made?
A mould is designed with a channel for the cable, a fine cement-and-sand mix is poured in stages and vibrated to release air, the piece is demoulded after about a day, cured damp for a week, then sanded, sealed with a matte sealer and wired with a socket and cord.
What cement is used for lamps?
A fine mortar of cement and fine sand, or a dedicated casting cement, rather than coarse concrete. Pigments are added as a small percentage of the cement weight, and stone chips can be mixed in for a terrazzo effect.
Why does a cement lamp have small holes on the surface?
They are air bubbles trapped during casting. A few are part of the character of cast cement; tapping or vibrating the mould during the pour keeps them to a minimum.
How long does cement take to cure?
It can be demoulded after about a day, reaches most of its strength after about a week and full strength after roughly four weeks. It lightens in colour as it cures, so pigmented pieces are judged only when fully dry.
Does a cement lamp need to be sealed?
Yes. A matte, water-based sealer keeps dust, fingermarks and spills out of the pores and stops the surface shedding fine powder, without adding shine.
Which bulb should I use in a cement lamp?
An LED bulb in warm white, around 2700–3000 K. LEDs run cool, which matters where the bulb sits close to the cement body or under a paper or fabric shade.
Want a cement lamp in your colour?
Tell us the size, the colour or terrazzo mix and where it will sit, and we will cast it by hand in Yerevan.
Message us on Instagram